Eliminate dead zones, enhance the strength of Wi-Fi connectivity in your home and office, extender is the most innovative technology to extend the current router’s network. In this article, I will give the best and simple route for Range Extender Setup via extender.linksys.com with any brand AP device. The extender mode uses to extend your existing Wi-Fi network to boost wifi signal in every area.
Our Services
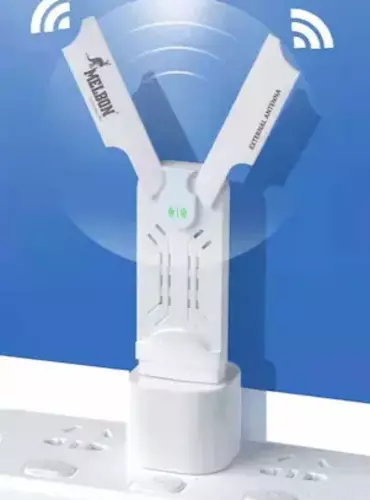
External Antennas
The AC750 Wireless Extender with two external antennas to give your stronger wireless signal range.
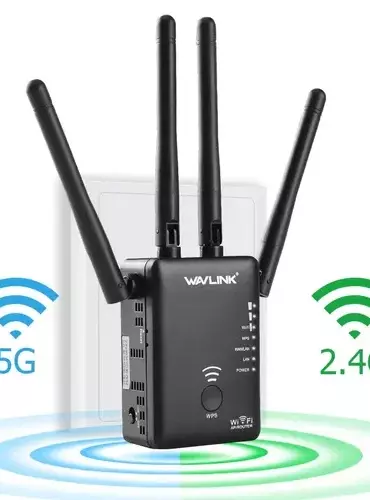
Dual Band Extender
The Wi-Fi range extender upholds 2.4 GHz signal band and 5GHz signal band with 300Mbps internet speed.
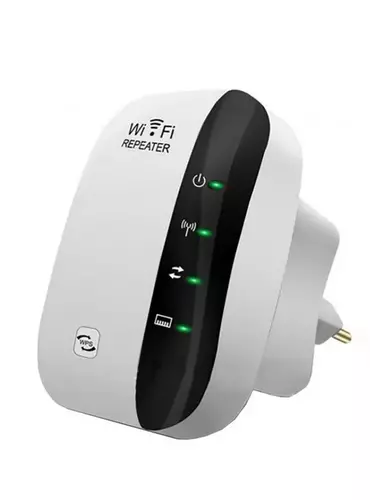
Range Extender Mode
A wireless range extender can be arranged with any brand of WiFi router in extender mode to expand the wifi signal.
WiFi Range Extender Setup Via Extender.Linksys.Com
In this article, we will show you the step by step guidelines to set up your wireless extender using extender.linksys.com web-based interface.
- First of all, ensure that the power LED of your extender is solid blue before starting the setup procedure.
- Open any of your web browsers on your computer like Opera, Safari, Microsoft Edge or Google chrome.
- Type http://extender.linksys.com in the URL bar of your preferred browser and press Enter. You can likewise use the IP address to access the setup page.
- Next, the range extender will take a few seconds to scan all the wireless networks available in your home including your main router’s wireless network.
- From the list of all available wireless networks, choose your router’s Wi-Fi name and type password to connect it with the extender.
- Click on ‘Next’ button to review all the settings like SSID and password made by you.
- Next, create an SSID and the password for your wireless extender’s network.
- Click save button to save all the settings for your extender and wait for the setup process to complete.
- Unplug your extender and choose the best spot to place your extender so, you can get the strong wireless signals throughout your home or office.
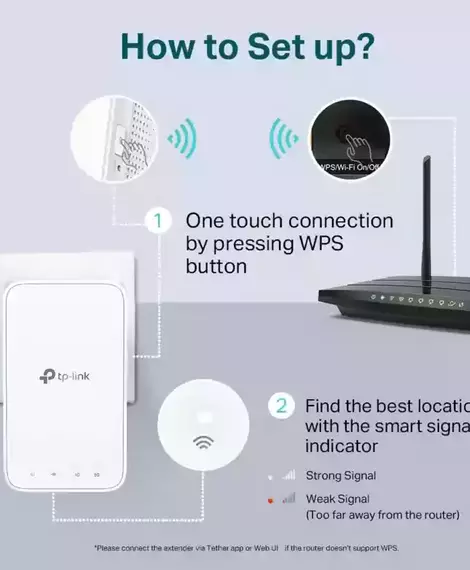
WPS Quick Setup Method
Try the quick setup method to connect your router with repeater if your router has a WPS button. Plugin the extender to the electric wall outlet and do not do anything until you see a solid blue Power light.
- Have a look at the front panel of the repeater, there should be a WPS button. Hold down the button for 9 seconds by applying pressure on it with your finger.
- Search for the WPS button on the existing router. Press it for 9 seconds then release it.
- Congrats, the Wi-Fi extender is setup now, connect your devices with the extender’s Wi-Fi connection to check the internet is working or not.
- Change the location of the extender and place it to another where the kids or family member want the strong signals.
In other words, the extender acts as a link between a existing router and a user’s devices. The job of a wireless range extender is to connect wirelessly to a router and repeat the network signals for those areas of a home or any other building where the wireless network is weak or absent. When a particular device with WiFi feature is unable to catch wireless network signals properly, a wireless extender helps it to do so.
Reset to Factory Default Settings
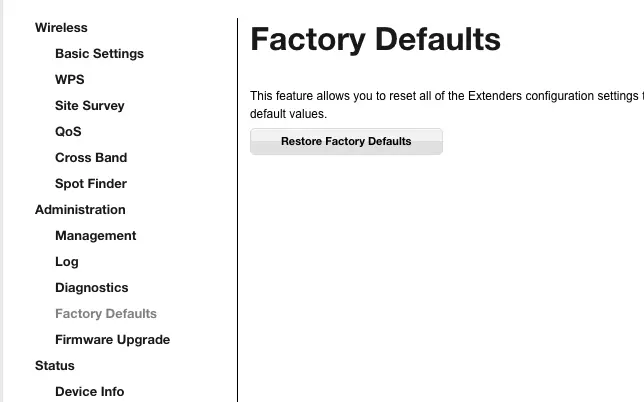
Via Web-Based Portal
Connect any of your wireless device to the extender’s wireless network otherwise you won’t be able to reach the web portal. Type 192.168.1.1 IP in the browser. Enter the credentials to login to the web portal and select the system tools tab. Click on backup and restore option and choose ‘Factory Restore’ button. Tap on yes on the pop up to confirm the reset command. Hang on while your extender completes the power reboot.
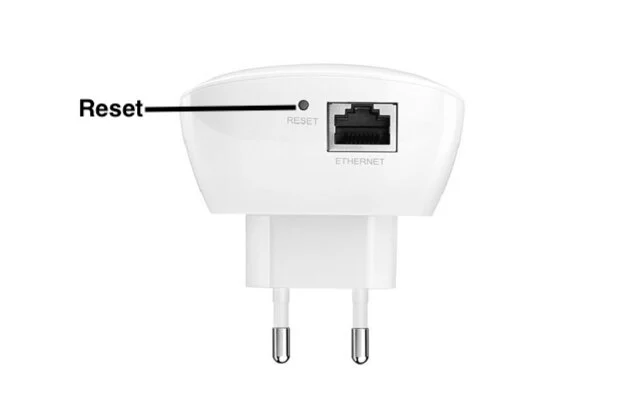
Via Reset Button
When your extender is plugged into a socket, you should make sure the power LED is solid and Wi-Fi LED is flashing. After that, you need to keep pressing the reset hole with a toothpick for about 14 seconds and you let go of the toothpick. You’ll notice that the Wi-Fi LED is off for a while. Now, you should wait until the power LED is solid and Wi-Fi signal LED is flashing. So now you can restart to setup the extender on your devices.
What to do to update the firmware for my old extender?
Many devices need to be updated after a certain amount of time to enhance the performance of it. Similar to the other devices, the wireless extender needs an updated firmware for the better performance. So, Please make sure to install the latest firmware for the device to get the most out of it.
- Sit in front of your laptop or desktop and connect your preferred device to the extender’s wireless connection.
- Open extender.linksys.com portal or you can type 192.168.1.1 IP and type the preset credentials to enter to the dashboard of the extender.
- Select the advanced settings section and search of the firmware upgrade option in the list.
- Click the ‘Firmware Upgrade’ tab or you can download the latest firmware file from the support site if you wish to do it manually.
- The Wi-Fi extender should restart itself in the upgrade process. So, do not try to power off the extender in this whole process.
What Can I Do To Setup My Repeater In AP Mode?
Trying to setup your extender through hardwired connection? It is a simple method to setup as an AP mode, you just have to focus on the Initial setup. You need to connect the cable to the extender for access point mode. Make sure the cable is connected to the range extender all the time for the setup.
- Take an Ethernet cable and connect it from the LAN port of the existing router to the extender.
- Once, you recognize the solid blue LED on the extender, connect your phone or tablet to the extender’s SSID via wireless connection.
- Fill in the extender.linksys.com web address in the URL bar and wait for the dashboard to come up on the screen.
- Select the AP mode and fill in the SSID and the strong password to reach the high security level.
- Try to connect your devices with it and enjoy your wireless extender as an AP mode.